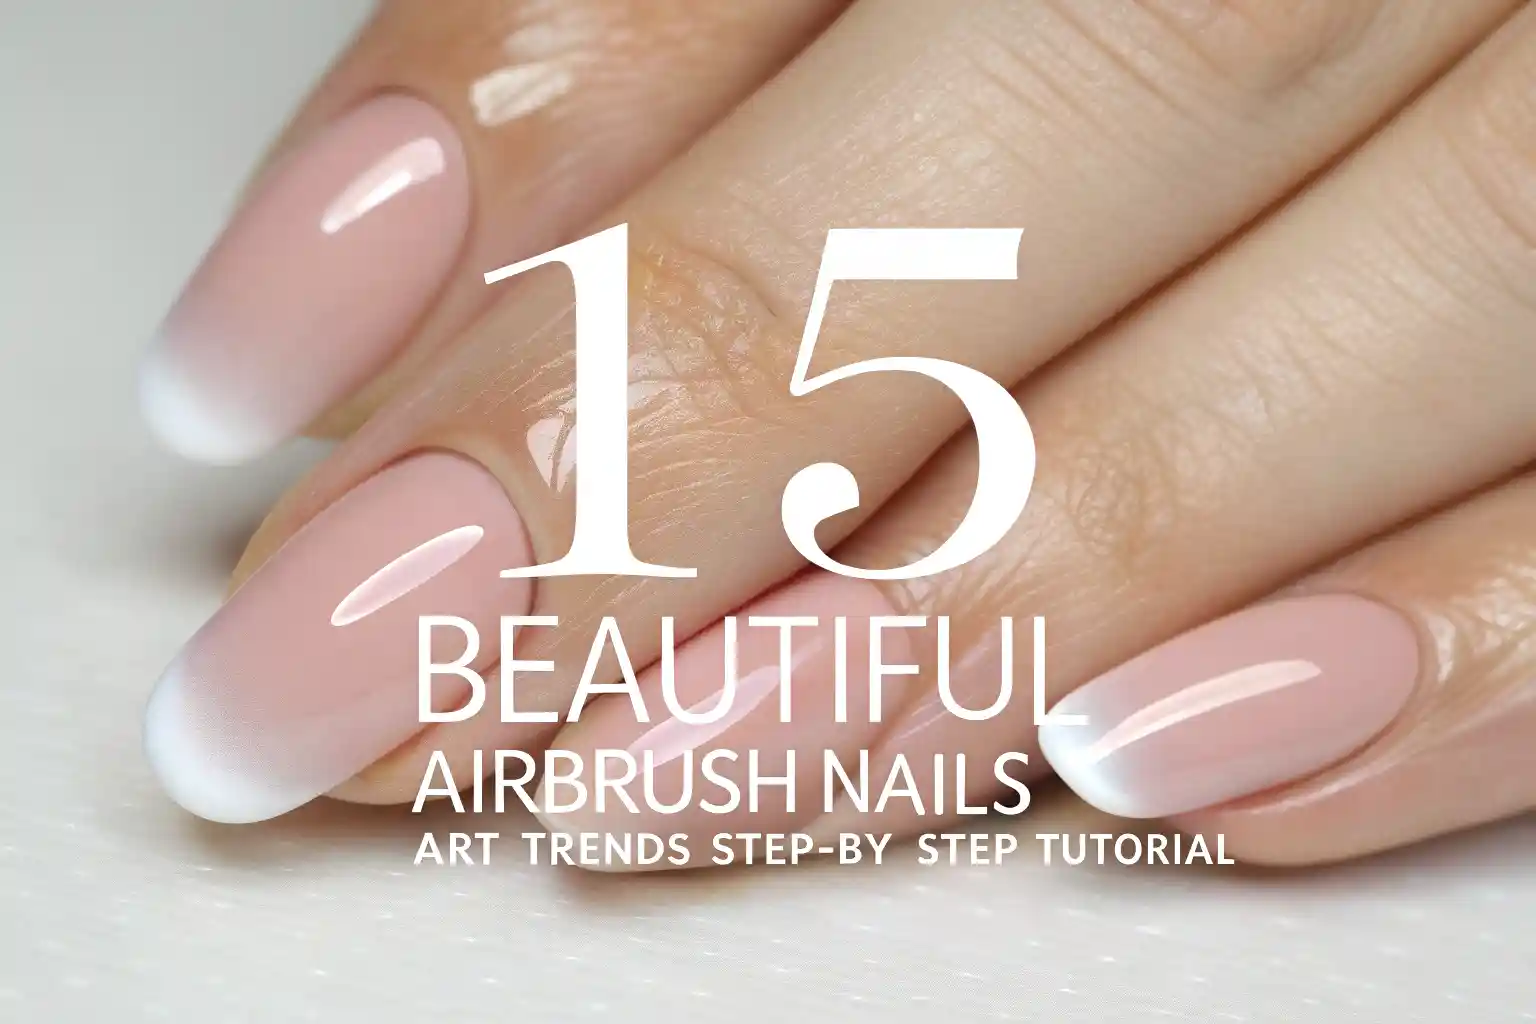
Nail art has come a long way in recent years, and one trend that continues to rise is airbrush nail art. Known for its flawless blends, unique patterns, and salon-quality finish, airbrush nails are quickly becoming a favorite among nail enthusiasts. The best part? With the right tools and techniques, you can recreate airbrush nails at home.
In this guide, we’ll walk you through a step-by-step airbrush nails tutorial, share essential tips, and showcase **15 gorgeous airbrush nail art designs** to inspire your next manicure.
What Are Airbrush Nails?
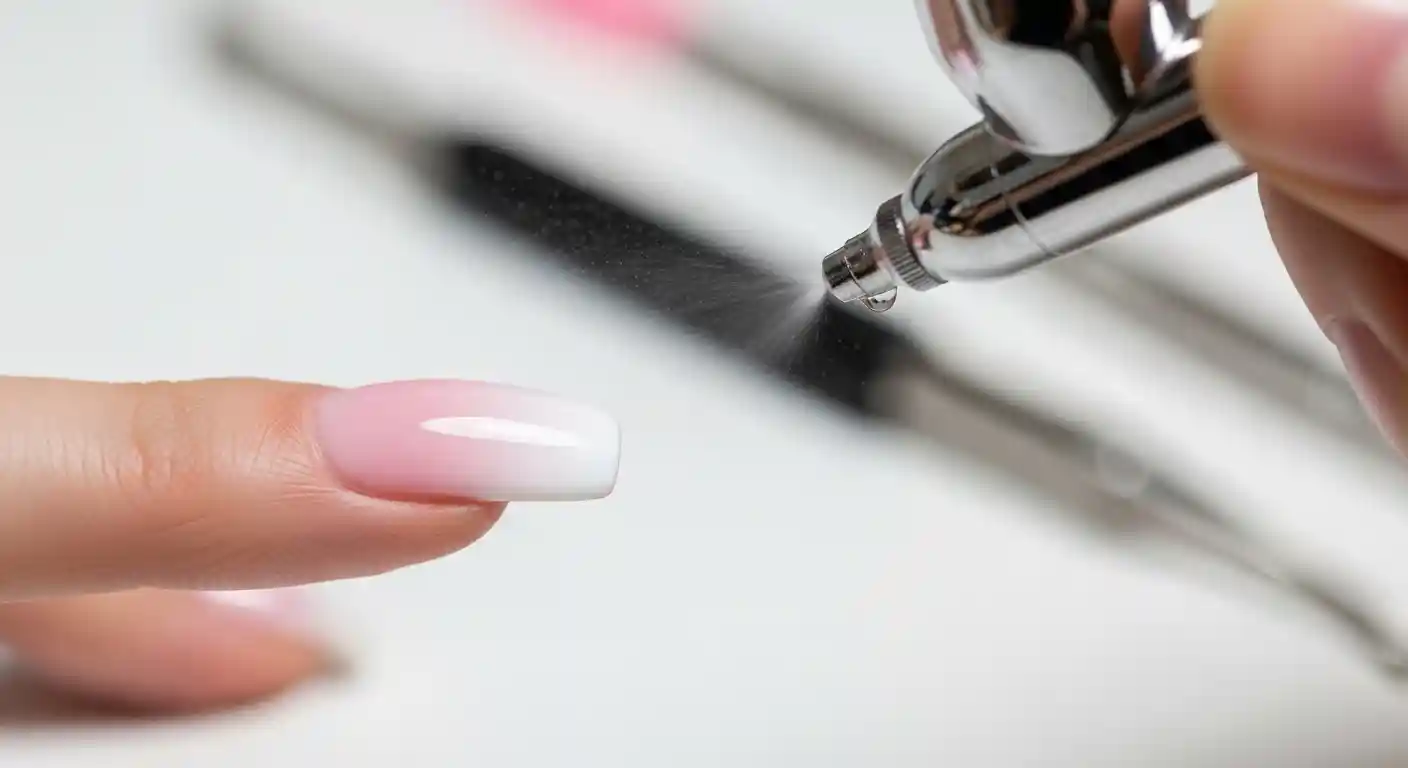
- Airbrush nails use a small airbrush gun and compressor to spray a fine mist of nail polish or paint onto the nail. This technique allows for:
- Smooth gradient effects (perfect for ombré nails)
- Sharp stenciled patterns (flowers, stars, swirls, etc.)
- Quick drying with a professional finish
- Unlike traditional polish, airbrushing gives precision and creativity, making it ideal for nail techs and DIY lovers.
Supplies You Need for Airbrush Nails
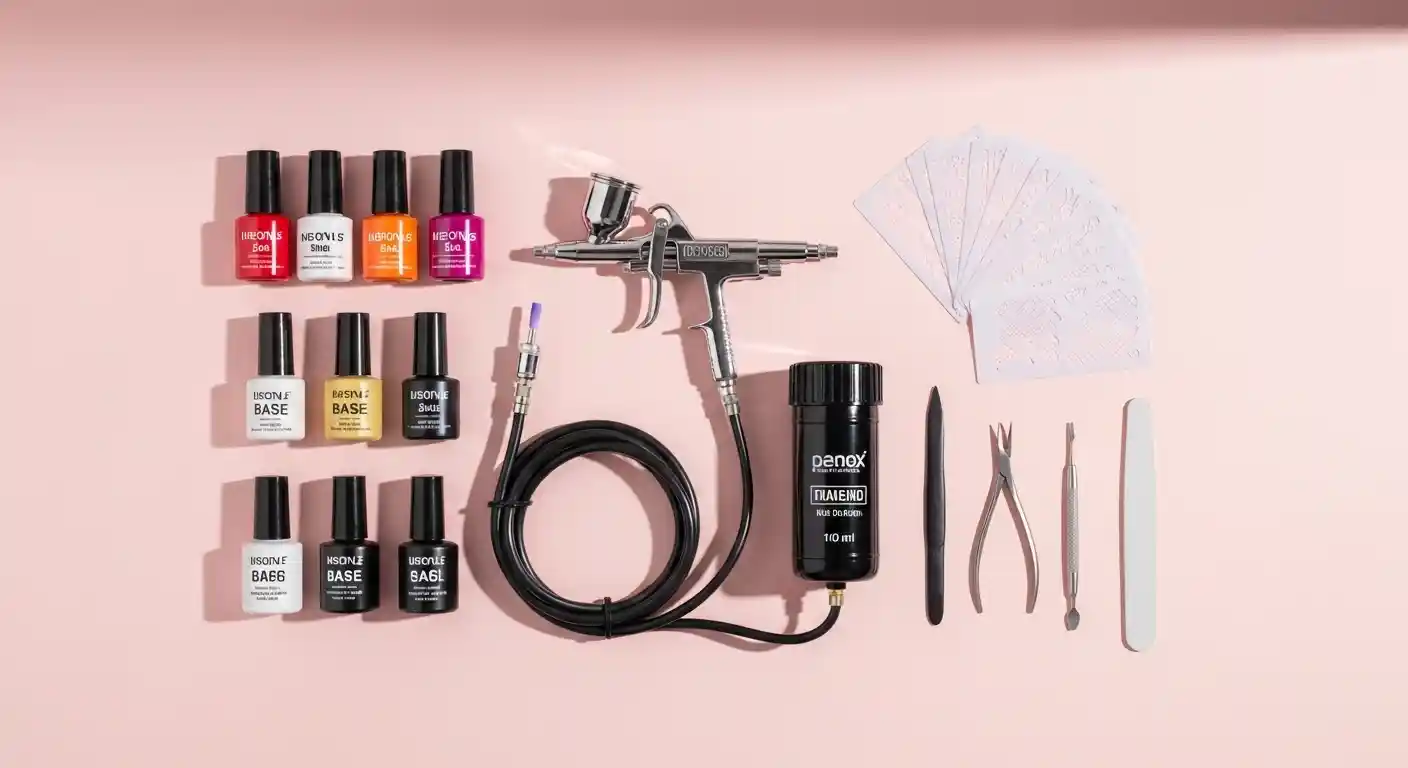
Before starting, gather these tools and products:
Airbrush kit(airbrush gun + mini compressor)
Water-based nail paints or special airbrush polish
Base coat and top coat
Nail stencils or stickers (for patterns)
Nail buffer & file
Cuticle pusher and oil
Nail cleanser or alcohol wipes (to prep the nail)
Cleaning solution for the airbrush
Pro Tip: Start with simple designs before experimenting with complex stencils and freehand gradients.
Pro Tip
Step-by-Step Tutorial: How to Do Airbrush Nails at Home
Here’s a simple guide for beginners:

Step 1: Prep Your Nails
- Remove old polish.
- Shape your nails using a file.
- Push back cuticles and buff the surface for smooth application.
- Apply a base coat to protect natural nails.
Step 2: Choose Your Colors & Design
Pick 2–3 shades that blend well together. Pastels, neon shades, and metallics work beautifully for gradients.
Step 3: Apply Base Color
Paint your nails with a neutral or light base (like nude or white). This helps the airbrushed colors pop.
Step 4: Airbrushing Technique
Load your airbrush gun with nail paint.
Hold the gun 5–8 cm away from the nail.
Spray lightly in sweeping motions for an even gradient.
Use stencils to create shapes, flowers, or geometric designs.
Step 5: Seal the Design
Let the nails dry for a few minutes.
Apply a top coat to lock in color and add shine.
Step 6: Clean Your Airbrush Kit
Always clean the gun immediately to prevent clogs. Use water or a special cleaning solution.
15 Gorgeous Airbrush Nail Art Designs to Try
Here are some stunning ideas to inspire your next manicure:
1. Pastel Ombre Airbrush Nails
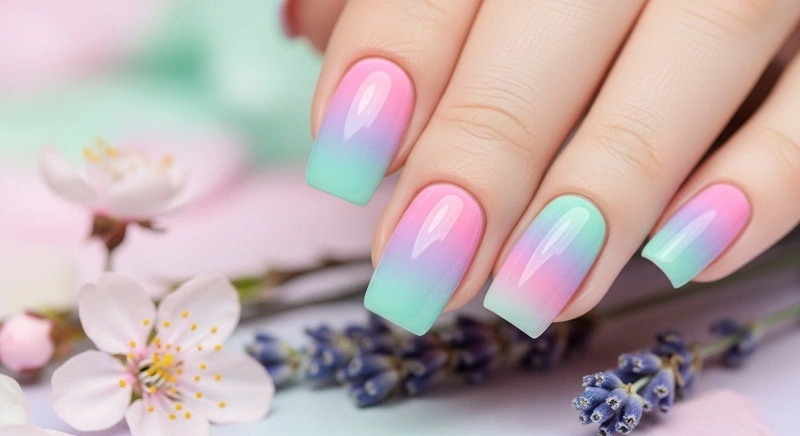
Soft blends of pink, lavender, and mint for a dreamy spring look.
2. Galaxy Airbrush Nails
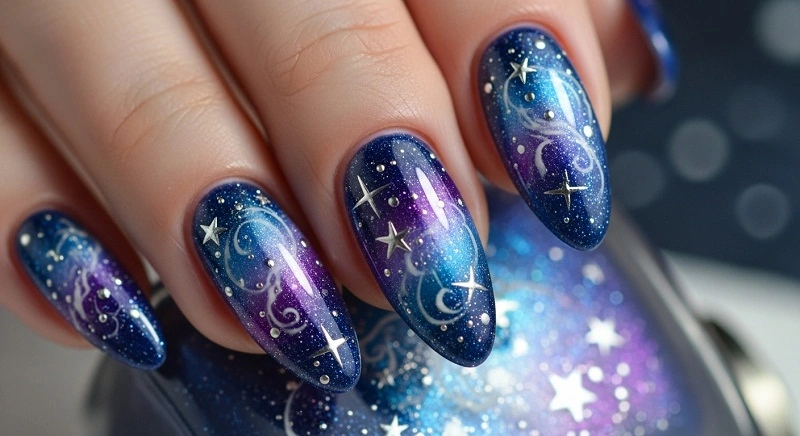
Deep blues, purples, and silvers with star stencils for a cosmic vibe.
3. Sunset Gradient Nails
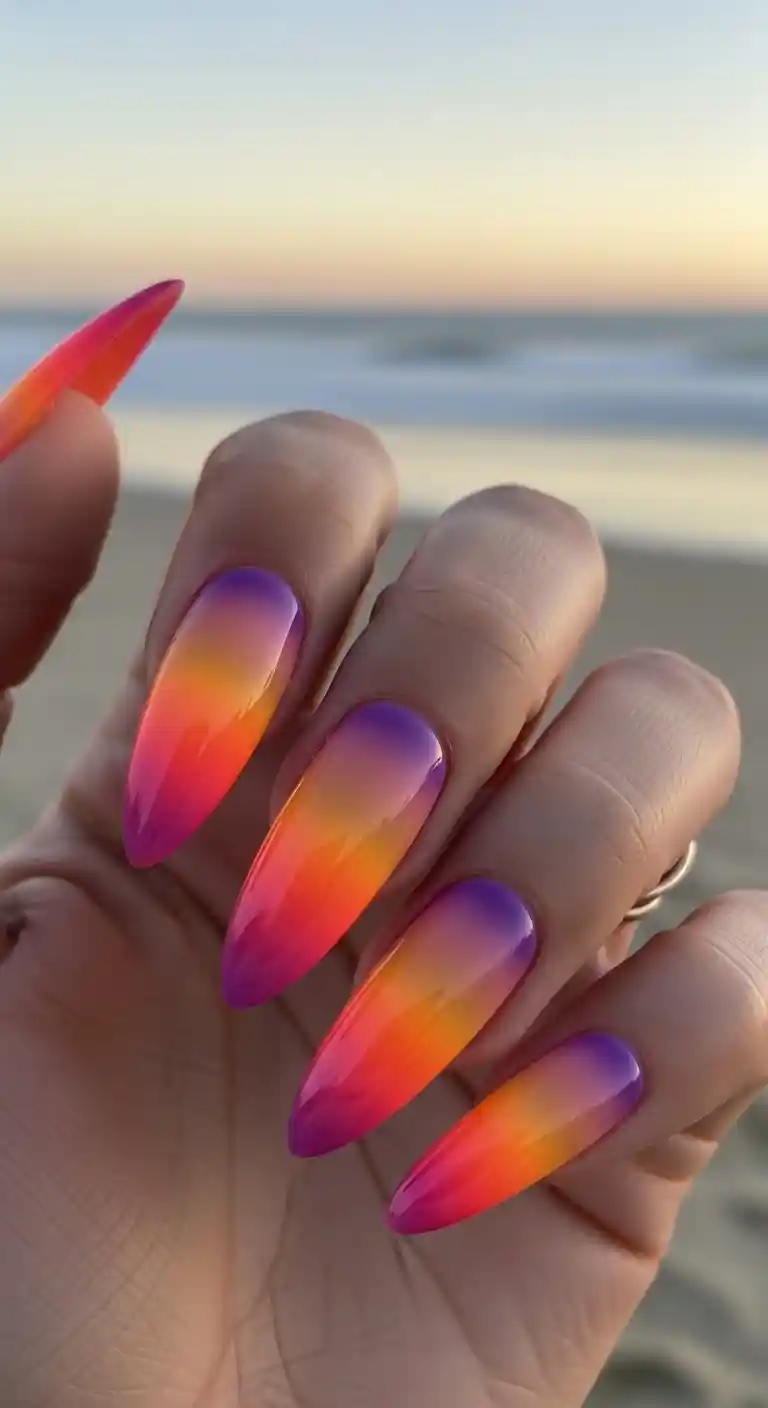
Orange, coral, and violet shades blend like a tropical sunset.
4. Black & Gold Glam Nails
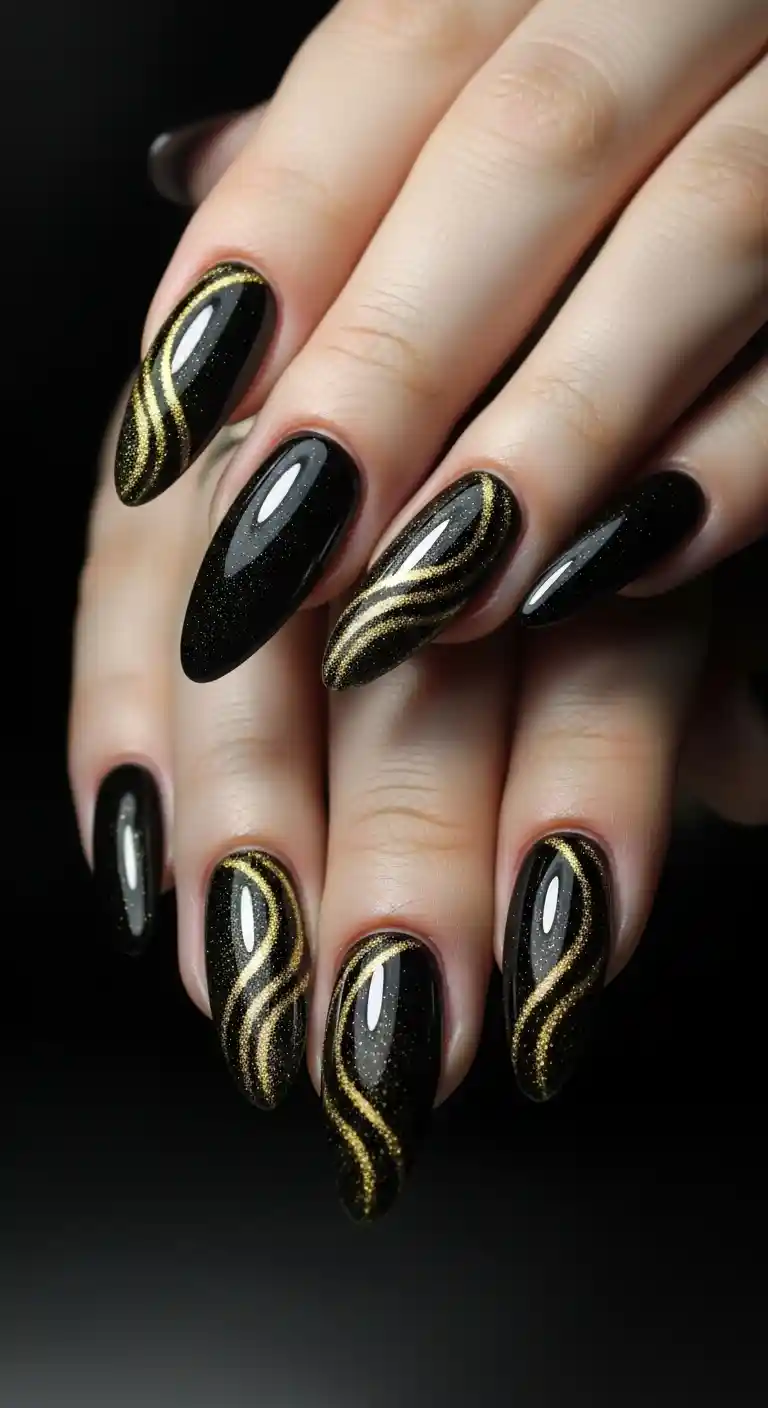
Bold black nails with gold airbrush shimmer for night parties.
5. French Fade (Baby Boomer Nails)
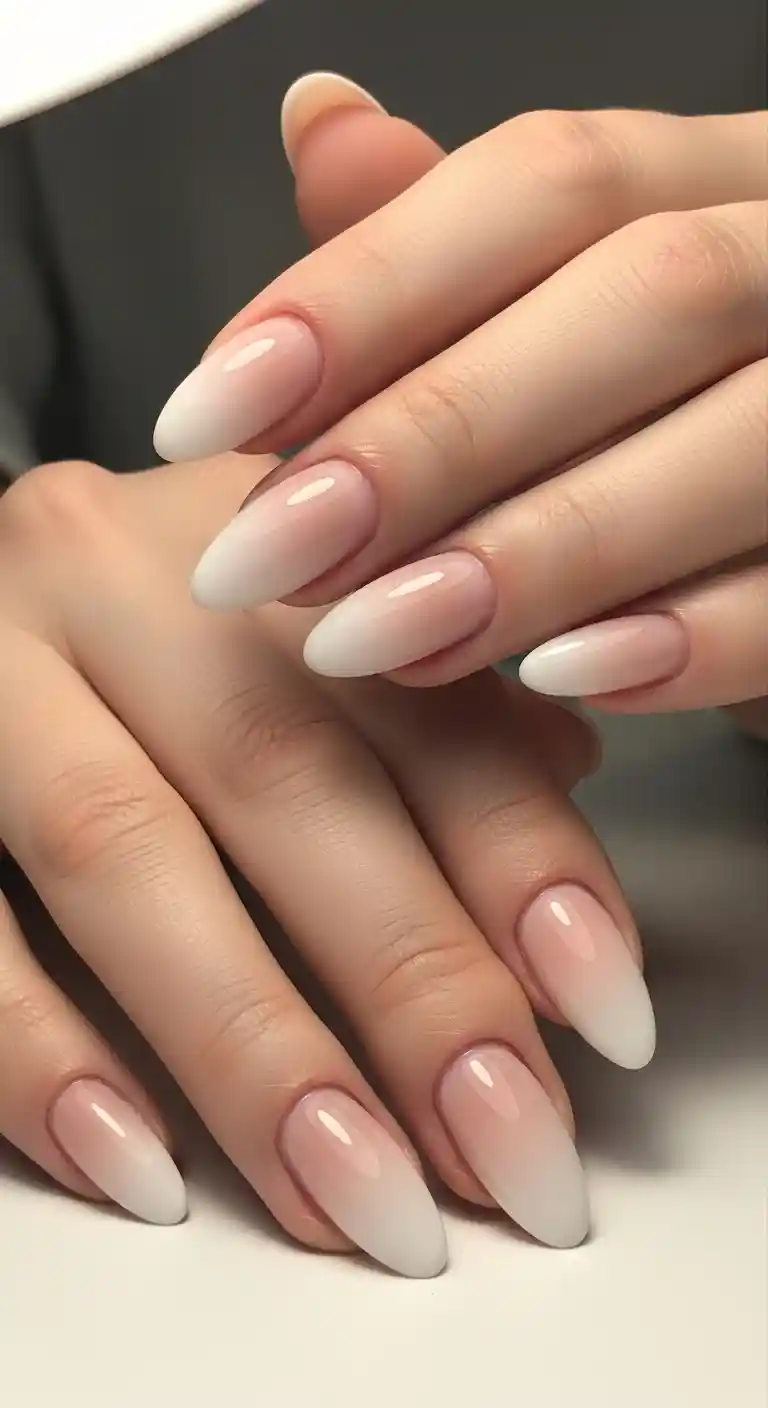
Classic nude fading into crisp white tips, perfect for brides.
6. Rainbow Gradient Nails
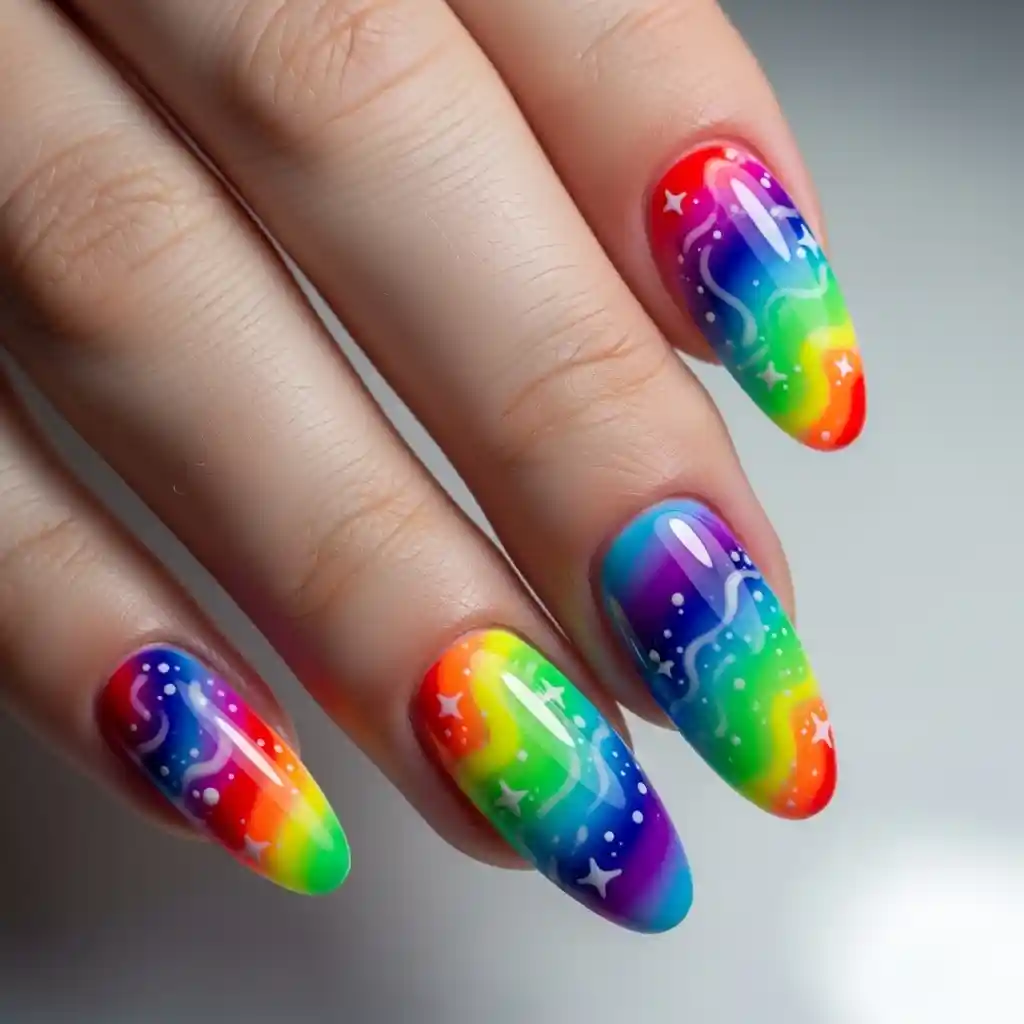
A fun mix of rainbow colors blended seamlessly for a playful style.
7. Neon Festival Nails
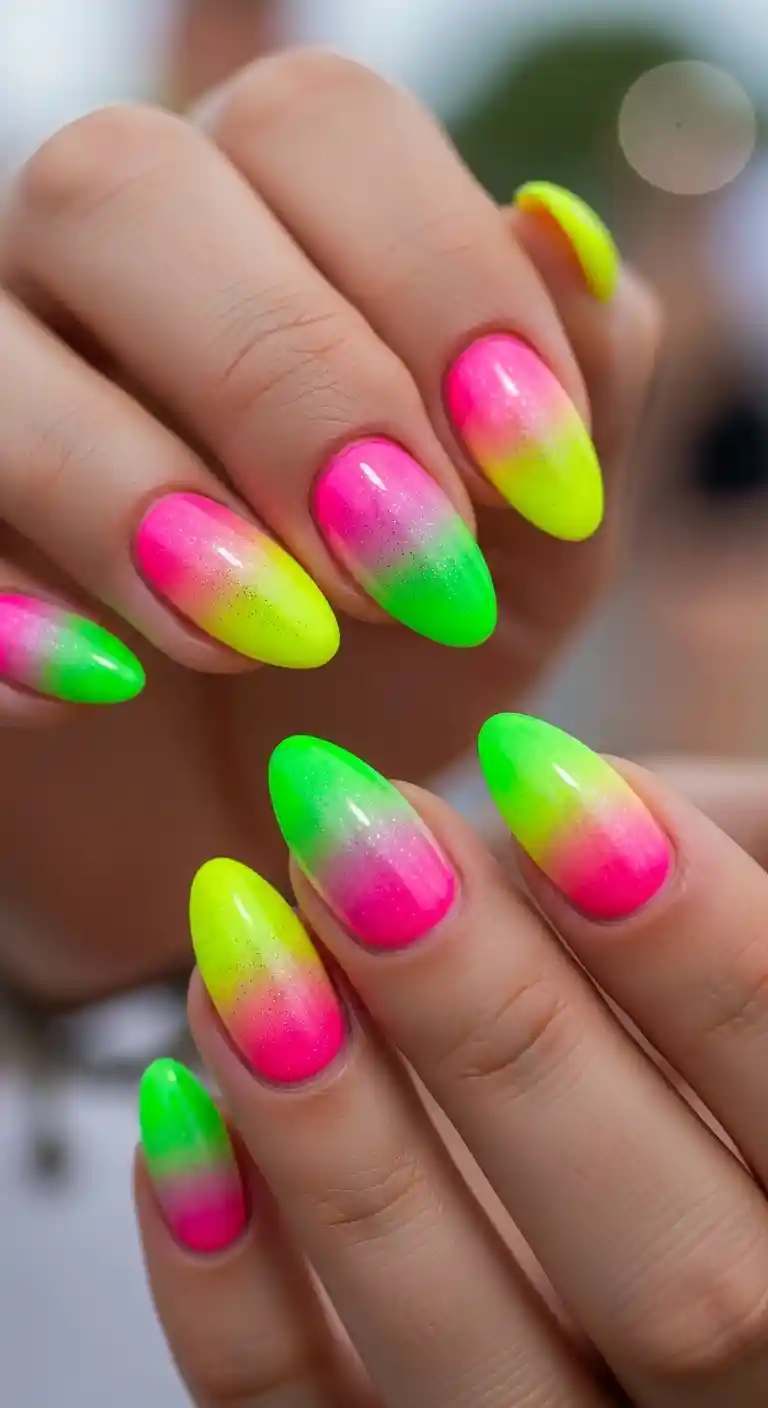
Bright pinks, greens, and yellows – perfect for summer festivals.
8. Winter Frost Nails

Icy blue and silver gradients with snowflake stencils.
9. Floral Airbrush Nails

Soft pastel background with flower stencils for a feminine look.
10. Abstract Waves
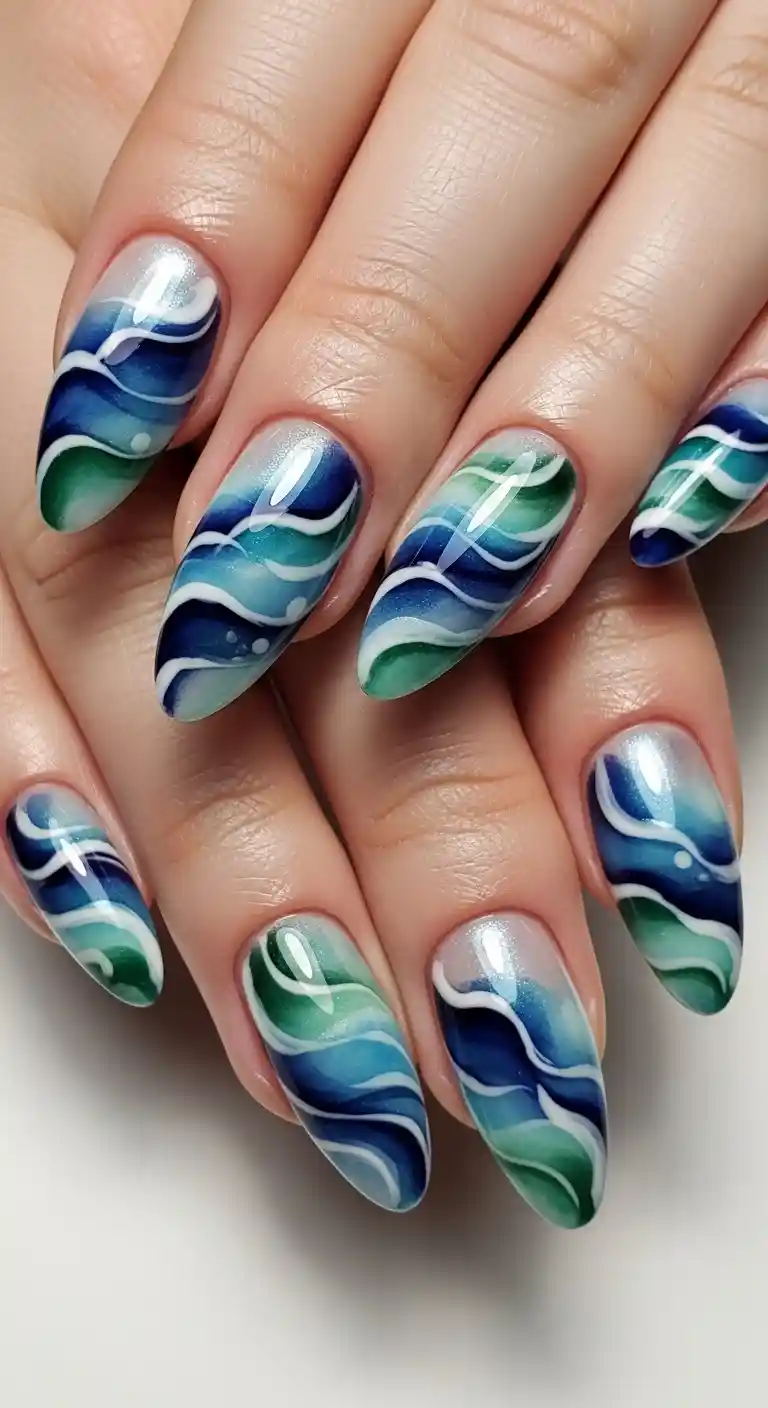
Freehand spray patterns that look like watercolor swirls.
11. Metallic Chrome Blend
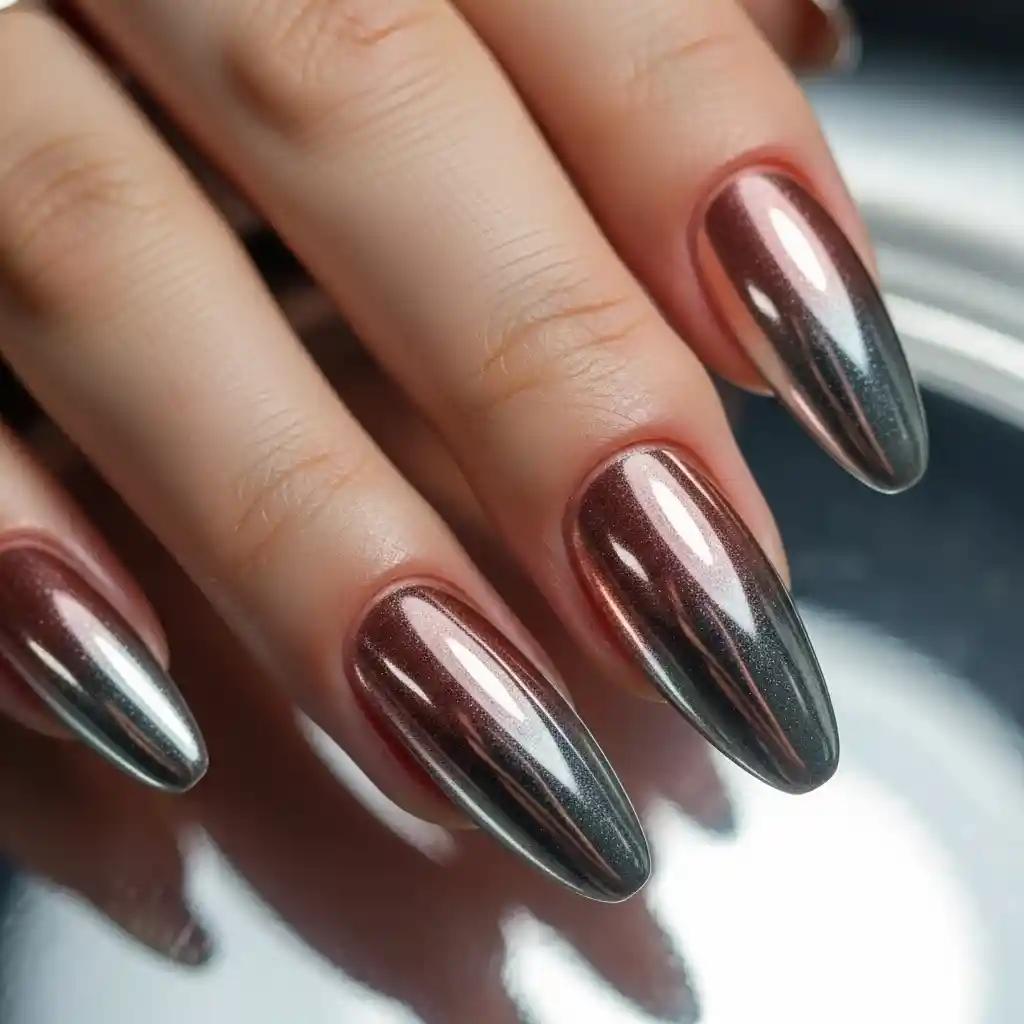
Rose gold and silver gradients with a futuristic finish.
12. Animal Print Airbrush Nails
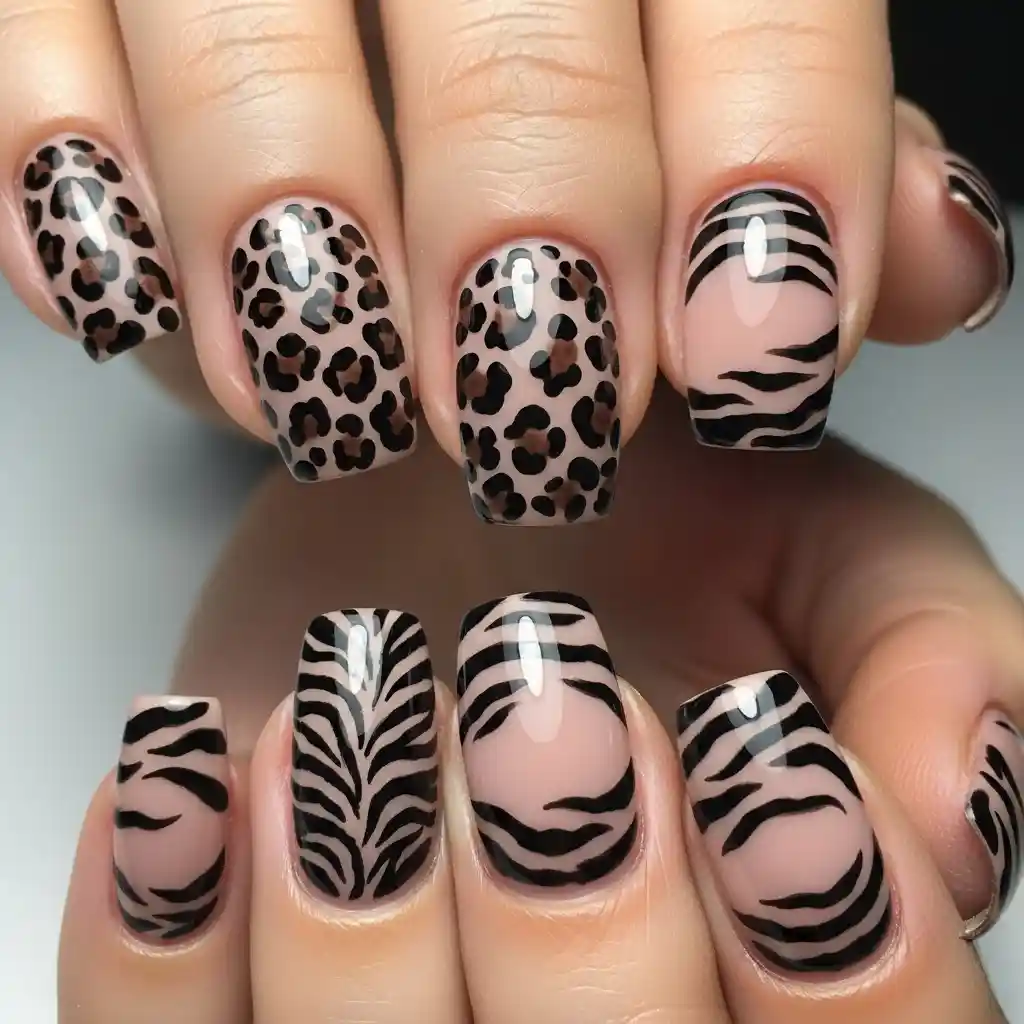
Leopard or zebra stencil patterns sprayed over neutral bases.
13. Halloween Theme Nails
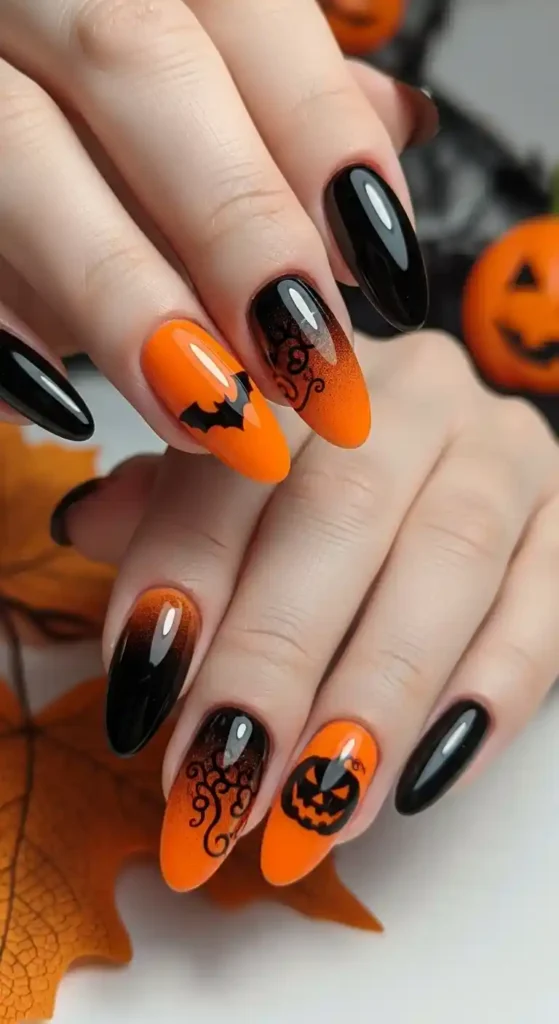
Black and orange blends with bat or pumpkin stencils.
14. Christmas Airbrush Nails
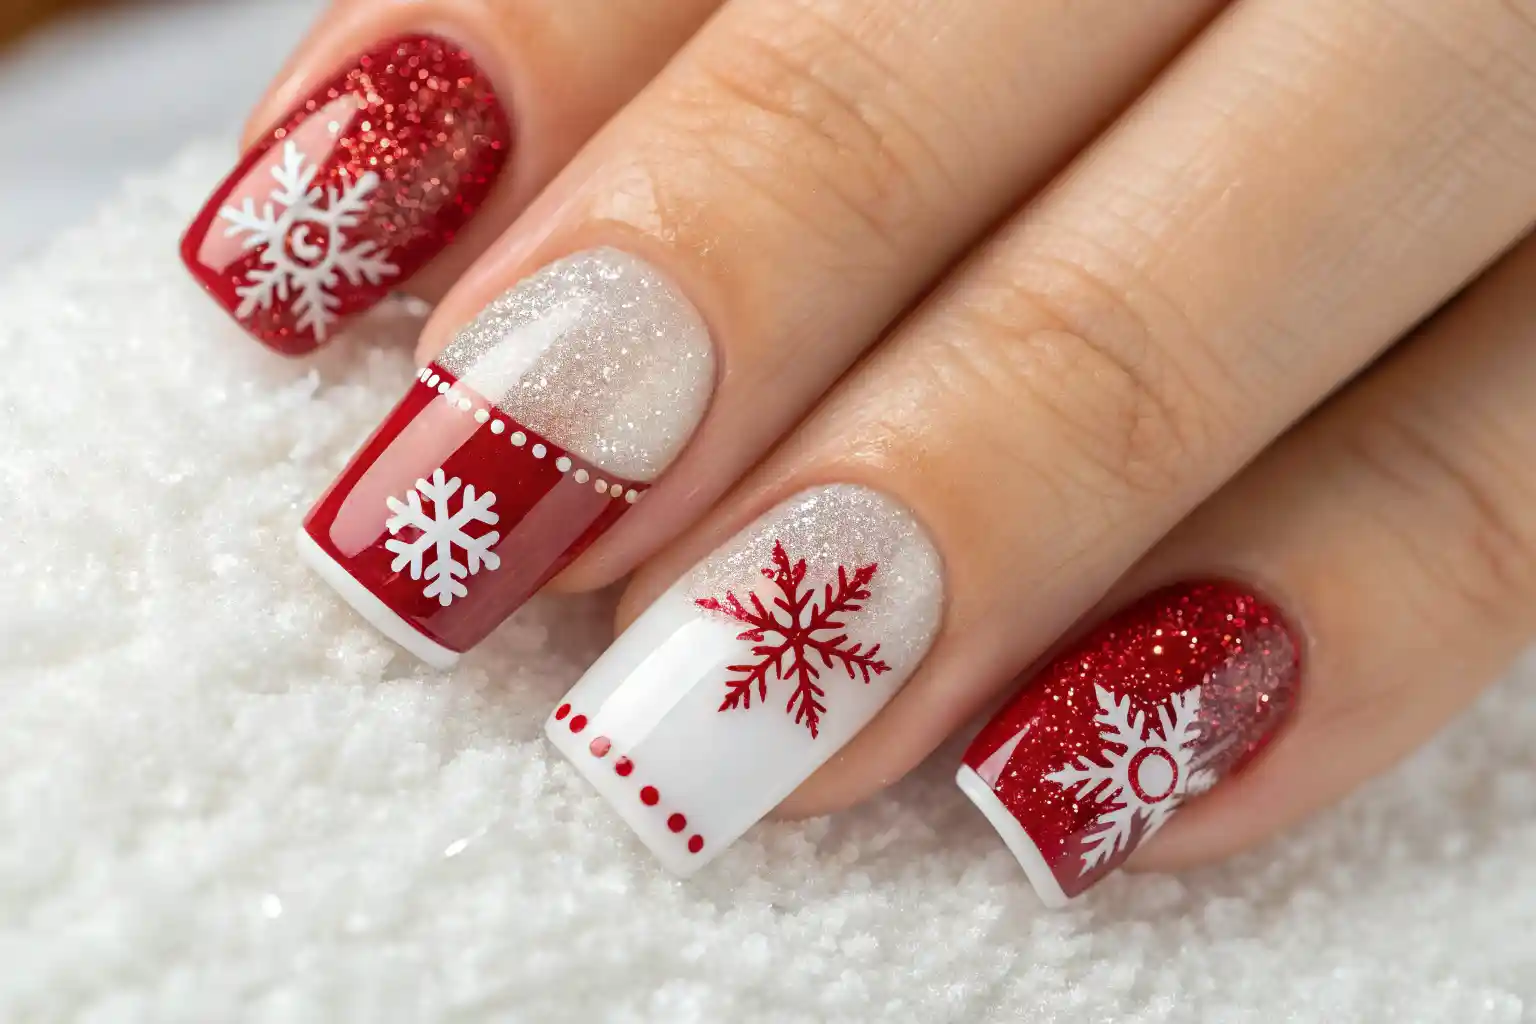
Red, green, and gold gradients with tree or snowflake designs.
15. Minimal Nude Glow
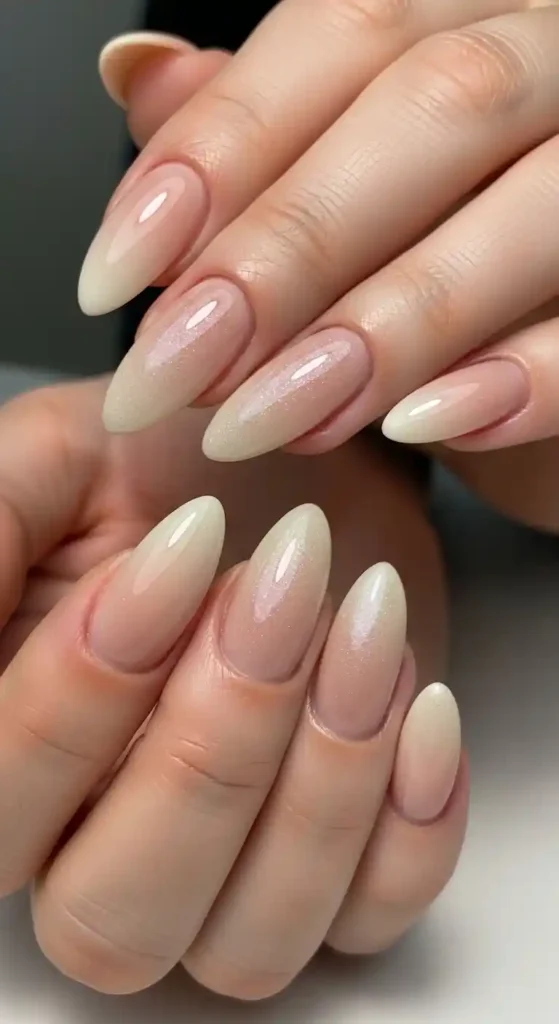
Soft nude base with subtle shimmer for an elegant everyday look.
Pro Tips for Perfect Airbrush Nails
|
Always work in thin layers – multiple sprays create depth. |
|
Keep your airbrush gun moving to avoid harsh spots. |
|
Clean stencils after each use for crisp patterns. |
|
Reapply top coat every 2–3 days for long-lasting wear. |
|
Experiment with matte vs glossy finishes. |
FAQs About Airbrush Nail Art
Final Thoughts
Airbrush nails are more than just a trend; they’re a creative way to express your personal style. Whether you want soft pastels, glamorous black and gold, or playful rainbow gradients, the possibilities are endless. With the right tools and a little practice, you can bring salon-quality airbrush nail art into your own home.