Introduction
Rhinestone nail art is the ultimate way to add a touch of glamour and sparkle to your manicure. Whether you’re preparing for a wedding, a party, or simply want everyday elegance, these shimmering crystals can instantly elevate your look. In this guide, we’ll cover **popular rhinestone designs, application tips, techniques, and aftercare** so you can create nails that turn heads.
What is Rhinestones Nail Art?
This nail art involves applying small crystal-like stones to the nails to create unique, eye-catching designs. These rhinestones can be made from:
- Crystal – premium sparkle and clarity.
- Glass – budget-friendly with a nice shine.
- Acrylic – lightweight and versatile for everyday wear.

They also come in two main styles:
- Flat-back rhinestones sit flush against the nail, perfect for most designs.
- Pointed rhinestones create a 3D effect for more dramatic looks.
Benefits of Rhinestones Nail Art
- Instant Glamour – Makes any manicure look expensive and chic.
- Versatile Designs – From subtle accents to full coverage.
- Event-Ready – Perfect for weddings, parties, or seasonal styles.
- Long-Lasting – With proper application, designs can last for weeks.
Tools & Materials You’ll Need
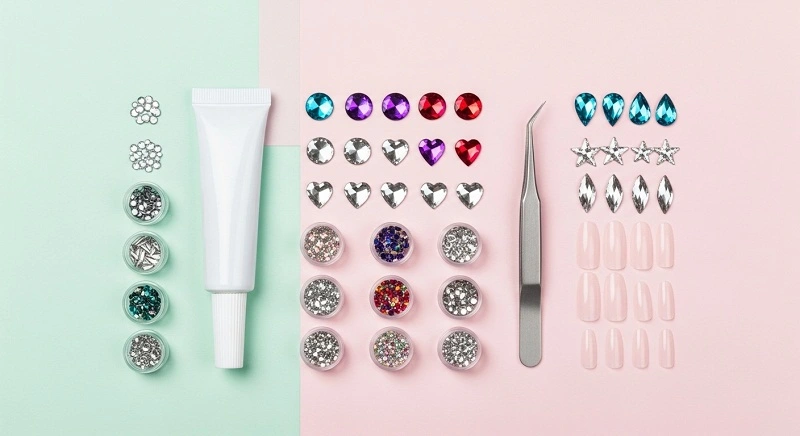
- 1. Rhinestones – Variety of shapes, colors, and sizes.
- 2. Nail Glue or Gel Adhesive – For strong hold.
- 3. Tweezers or Wax Pencil – To pick and place stones precisely.
- 4. Dotting Tool – Helps apply small glue dots.
- 5. Top Coat – Seals and protects the design.
- 6. Base Nail Polish – Complementary or contrasting colors.
Step-by-Step Guide to Applying Rhinestones
Popular Rhinestone Designs

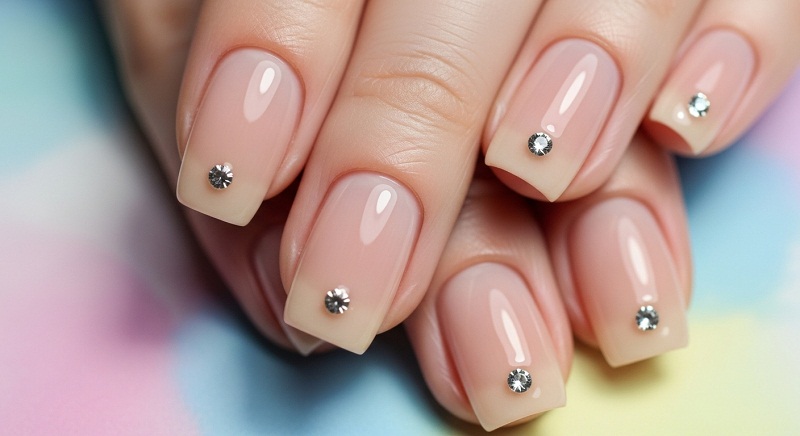
- Minimalist Accent Nail: A single rhinestone on each nail for subtle elegance.
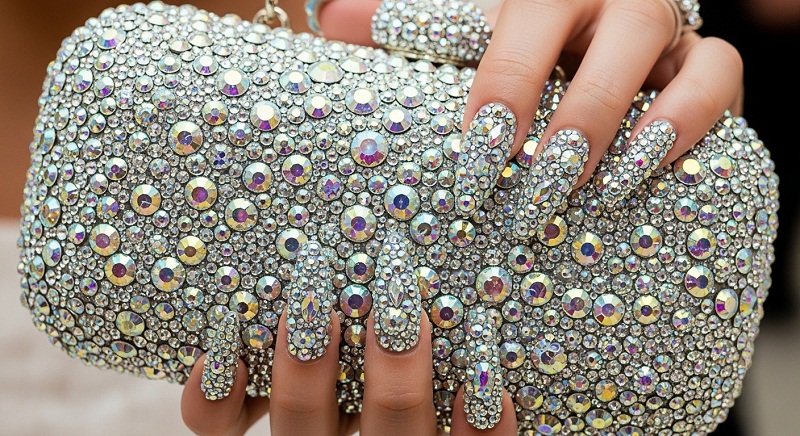
- Full Crystal Coverage: Nails covered entirely in rhinestones for maximum shine.
- French Tip with Rhinestones: Sparkling line along the nail tips.
- Ombre Rhinestone Effect: Gradual fade from nail bed to tip.
- Seasonal & Themed Designs: Holiday colors, wedding patterns, or birthday sparkle.
Tips for Long-Lasting Rhinestone Nails
- Always use high-quality rhinestones for better sparkle and durability.
- Choose strong nail glue or builder gel for a secure hold.
- Avoid excessive water exposure and harsh chemicals.
- Apply top coat every few days to keep the design intact.
Common Mistakes to Avoid
- Use cheap glue that peels off easily.
- Overloading nails with too many stones makes them prone to falling.
- Skipping the top coat sealant.
- Not prepping nails properly before application.
Aftercare & Maintenance

Conclusion
It is a stunning way to express creativity and add a dazzling touch to your manicure. By following the right techniques and care tips, you can enjoy beautiful, long-lasting designs. Whether you’re creating a subtle sparkle or a full glam look, rhinestones let your nails shine as bright as your style.
Ready to try? Gather your rhinestones, polish, and tools today and create a manicure that’s Instagram-worthy!
